Please note: this article appeared first, in abridged form, on the ESA Rosetta Blog here
After nearly 1000 days in hibernation, Rosetta was successfully woken up and recommissioned; the spacecraft is healthy and ready to get down to science at comet 67P. But of course it can’t do that without the instruments! In March and April they also go through a re-commissioning exercise. Basically each instruments gets switched on and put through a series of tests.
Rosetta is still so far from the Sun, that even its enormous solar panels can’t generate enough power to switch on everything at once, so each instrument is assigned one or more “slots” to run these tests. MIDAS will first get switched ON early in the morning on 27th March. Rosetta will still be over 35 “light minutes” (the time it takes light, or radio signals, to reach the spacecraft) from the Earth. So this is an entirely pre-programmed sequence of events called a “passive checkout”. We have three hours to check that all of our subsystems are behaving as expected. Although we don’t do any real atomic force microscope (AFM) scanning, we run all of our mechanisms and check how they survived the cold months of hibernation.
The sequence of events looks like this:
- Switch on: first things first! When MIDAS powers up it goes into a special mode in which we can perform memory patching and other engineering operations. The first real command to MIDAS loads the on-board software into memory and puts the instrument into “standby” mode. Now we’re ready for business!
- Electrical test: different sub-systems on MIDAS can be switched on and off. So the first test we do is to switch each one on for a minute, and then off again. The instrument sends regular telemetry (diagnostic data) including the electrical current, so we have several measurements during this time to compare with the expected values.
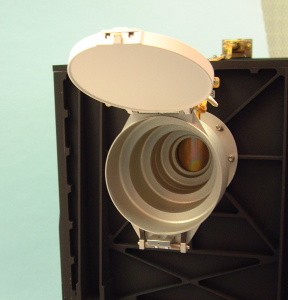
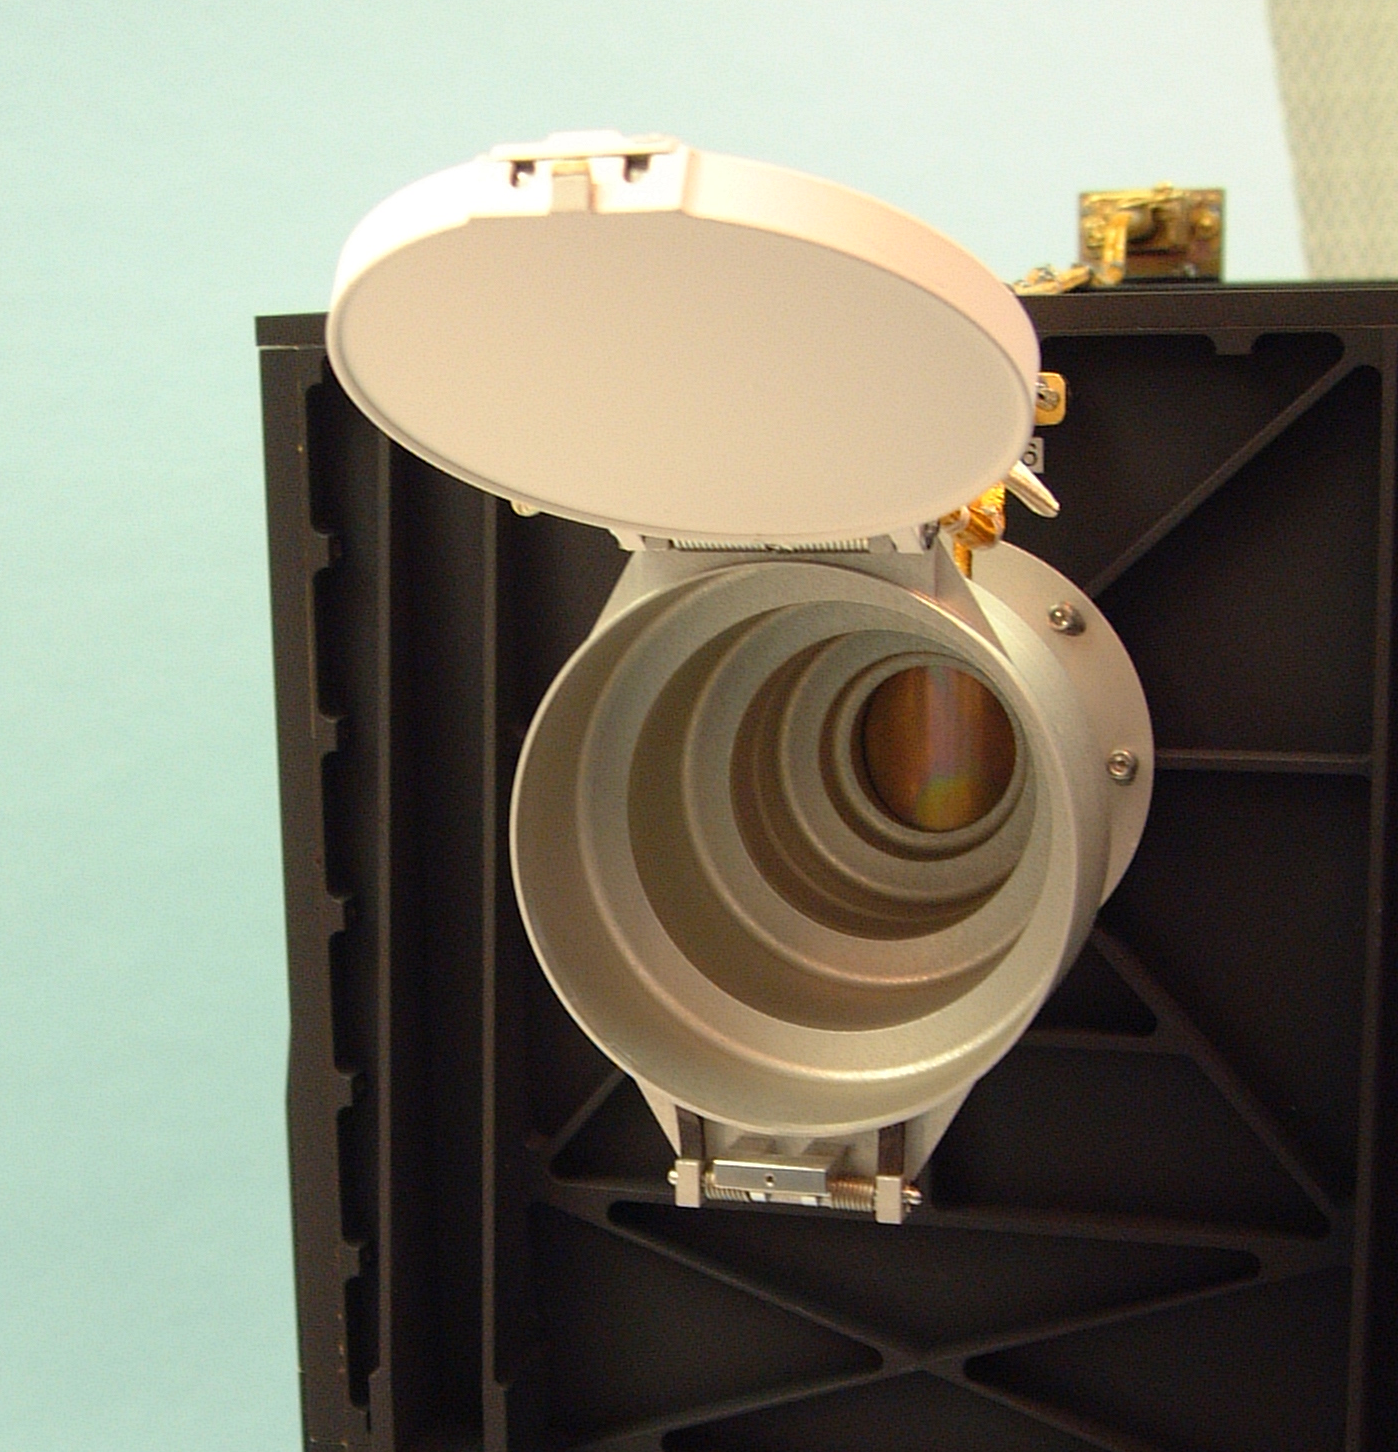
MIDAS funnel and shutter - Shutter test: dust grains enter MIDAS through a funnel poking through the “front” wall of the spacecraft. To control how much dust enters, we have a shutter, much like a camera. This shutter is a cylinder with a hole drilled in it to let the dust through, and it opens and closes by rotating the cylinder. The shutter was left open during the hibernation, so during this test we will close, open and close it again.
- Sample handling test: apart from the microscope itself, there are 3 main mechanisms on MIDAS. We test each of these by moving them to their limits and back:
- the sample wheel can be rotated to position a new target for exposure or imaging,
- the sample wheel can be moved to position it in front of a given cantilever (sensor), and
- the entire microscope can be moved towards and away from the sample wheel.
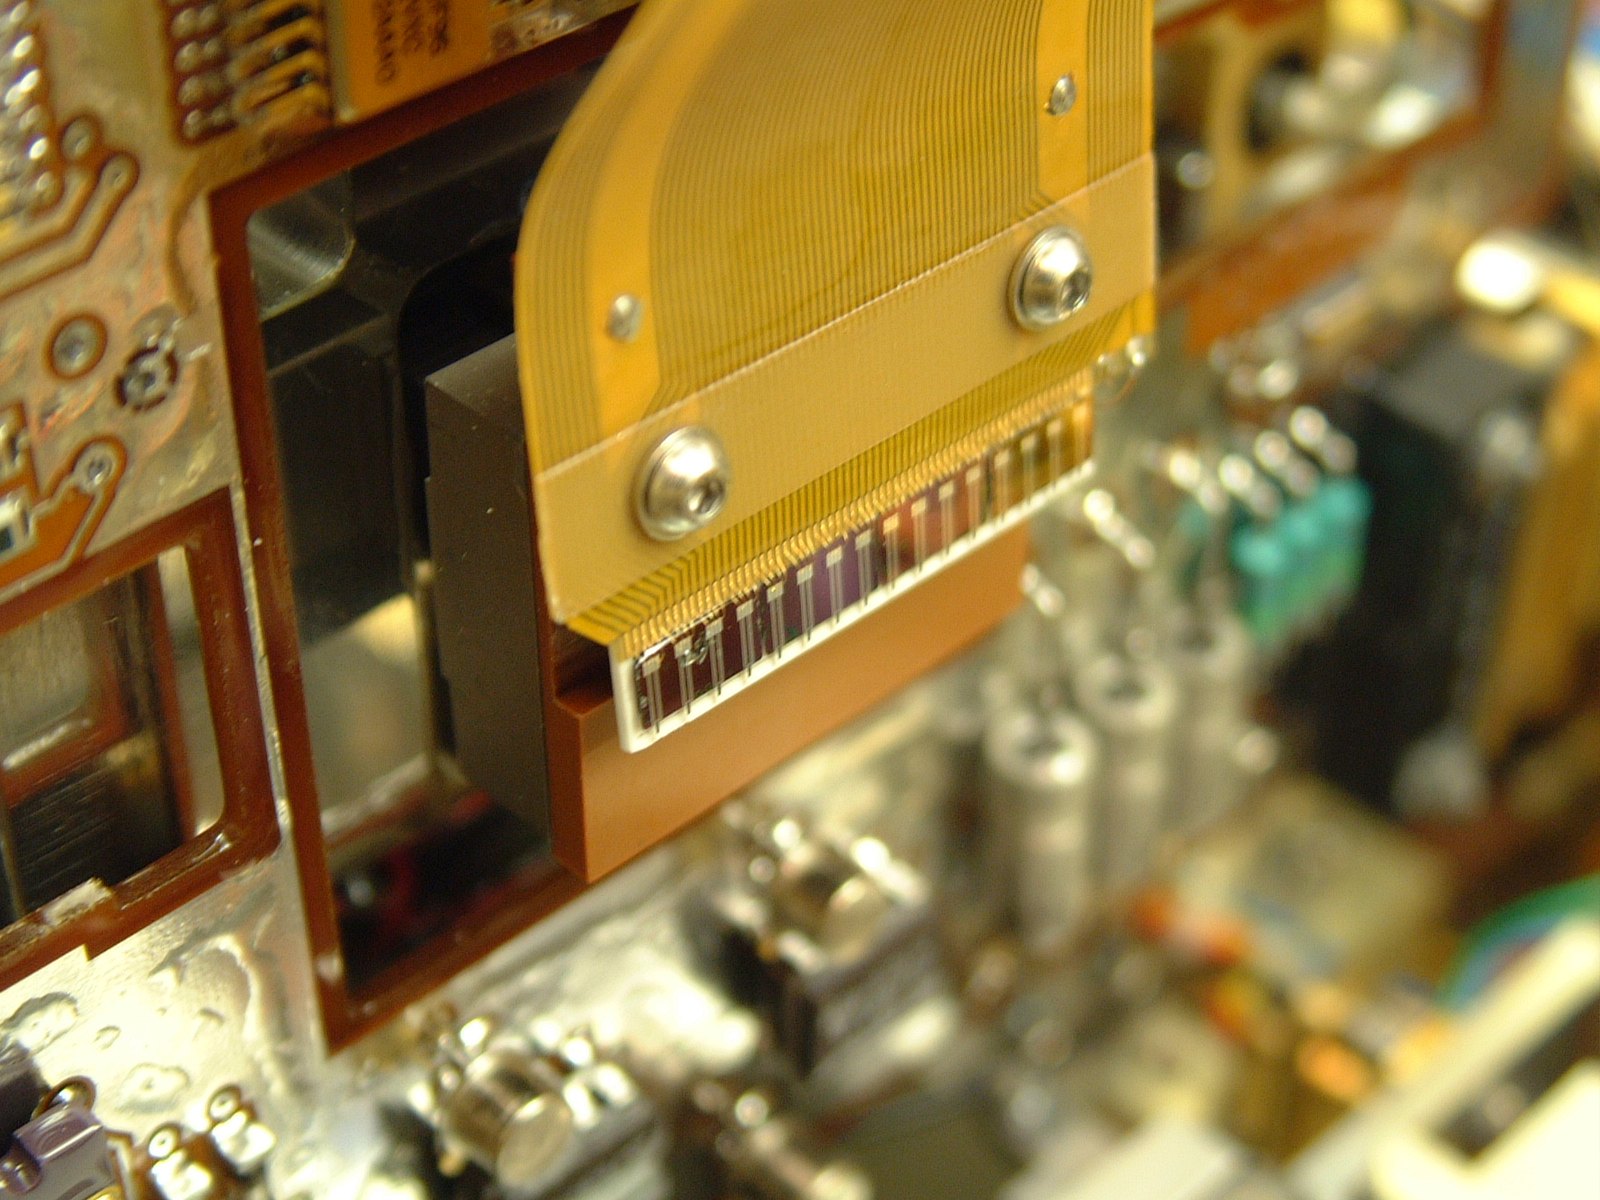
- Cantilever resonance test: the heart of an AFM is a “cantilever” – a rectangular strip of silicon clamped at one end. MIDAS has 16 of these, each with a unique resonant frequency – this is the rate at which the free end would oscillate if you let it (kind of like holding a ruler over a desk and “twanging” the other end!). We measure this frequency by vibrating the cantilever and looking for the point at which the oscillation is largest.

MIDAS cantilever array - Scanner test: the AFM cantilevers are mounted on an XYZ scanner – this allows us to move the sharp tip (the bit that touches the sample and makes our images) in three dimensions. To test this scanning mechanism we make a small (32×32 pixel) image, but without touching the sample. This lets us check that the scanner moves properly in all directions, without risking damage to our precious tips.
- Switch off: needs no explanation!
We performed an almost-identical test just before hibernation entry, so this is a good check that everything is working as expected. If everything goes well, the next step is to upload a new version of our on-board software – then we can take some real microscopic images!